Apple & Google Wallet Passes
Every ticket Modality issues can live in an attendee's phone wallet. On the confirmation page each valid ticket offers Add to Apple Wallet and Add to Google Wallet buttons alongside the downloadable QR code. This guide explains how the passes are built, what they contain, and how to enable each platform with signing credentials.
How Wallet Passes Work
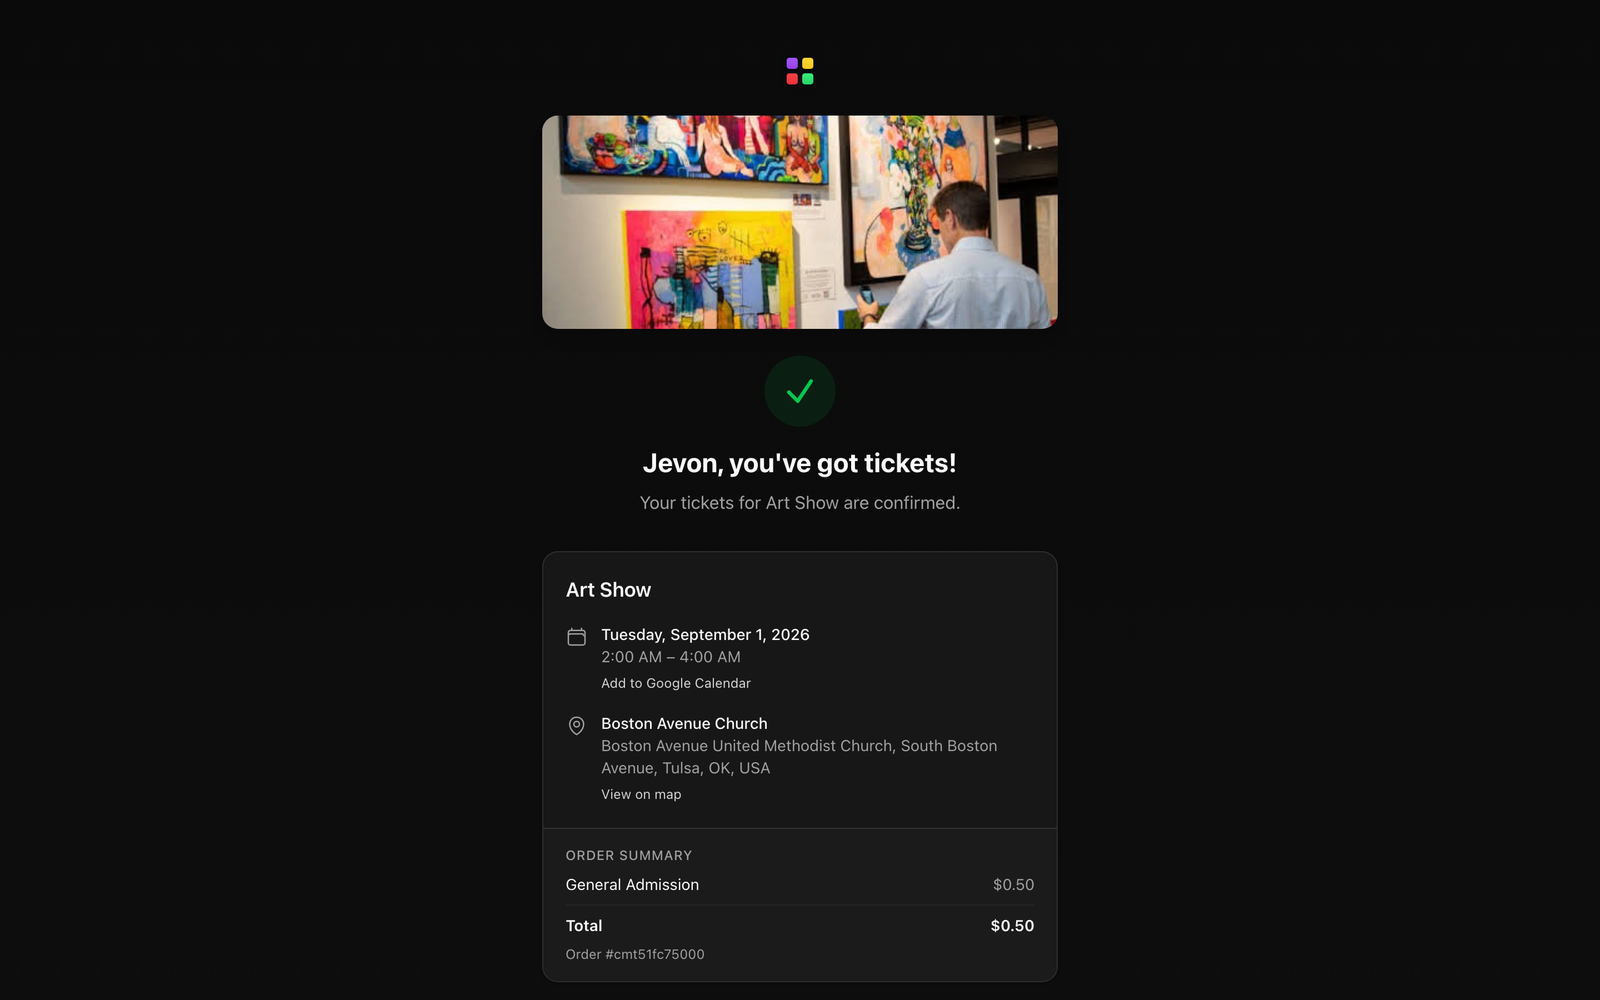
After a buyer completes checkout, they land on the confirmation page at /event/<slug>/confirmation. Each ticket in the order renders its own card with a scannable QR code and, for tickets in the VALID state, a row of actions:
- Download QR, always shown. Saves the ticket's QR code as a PNG straight from the page (on mobile this is the Save-to-Photos path). No wallet configuration is required.
- Add to Apple Wallet, shown only when Apple pass signing is configured for the deployment. The button links to
/api/v1/tickets/<id>/wallet, which returns a signed.pkpassfile that iOS opens in the Wallet app. - Add to Google Wallet, shown only when Google Wallet is configured. The button opens
/api/v1/tickets/<id>/google-walletin a new tab, which redirects to a Google Save to Wallet link.
Both wallet buttons only appear when the corresponding credentials are present. If neither platform is configured, buyers still get the Download QR button, so tickets remain usable everywhere.
What's inside a pass
Both the Apple and Google passes are built from the same ticket data, so they show consistent information:
- Event name and ticket type (e.g. General Admission, VIP).
- Date & time, for a multi-showtime event this is the specific showing the ticket is for, not the base event date.
- Venue and address, plus map location when the event has coordinates (so the pass can surface on the lock screen near the venue).
- Attendee name and, for reserved-seating events, the seat label (section and seat).
- A QR barcode that door staff scan to check the guest in, and the ticket ID for reference.
The pass also picks up your branding: the workspace logo and event cover image are embedded, and the event's accent color (falling back to your brand's primary color) sets the pass background.
Screenshot: an event ticket rendered in Apple Wallet showing the event name, ticket type, date and time, venue, attendee, and the QR barcode.
Demo GIF / screenshot to be added
Enabling Apple Wallet Passes
Apple Wallet passes must be cryptographically signed with an Apple Developer Pass Type ID certificate. Once the signing credentials are present as environment variables, the Add to Apple Wallet button automatically appears on the confirmation page for every valid ticket.
What you need from Apple
In your Apple Developer account, create a Pass Type ID and generate a signing certificate for it. You'll end up with three PEM pieces plus two identifiers:
- The Pass Type ID certificate (your signer certificate).
- The matching private key for that certificate.
- The Apple WWDR (Worldwide Developer Relations) intermediate certificate.
- Your Pass Type Identifier (e.g.
pass.com.yourorg.tickets). - Your Apple Developer Team ID.
Environment variables
Set these on the deployment. The Apple button appears only once APPLE_PASS_CERT, APPLE_PASS_KEY, APPLE_WWDR_CERT, APPLE_PASS_TYPE_ID, and APPLE_TEAM_ID are all present.
APPLE_PASS_CERT, the Pass Type ID signer certificate (PEM).APPLE_PASS_KEY, the private key for that certificate (PEM).APPLE_WWDR_CERT, the Apple WWDR intermediate certificate (PEM).APPLE_PASS_KEY_PASSPHRASE, optional. Only set this if your private key is encrypted with a passphrase.APPLE_PASS_TYPE_ID, the Pass Type Identifier (e.g.pass.com.yourorg.tickets).APPLE_TEAM_ID, your Apple Developer Team ID.
How to turn it on
- 1
Create a Pass Type ID and certificate
In the Apple Developer portal, register a Pass Type ID and generate its signing certificate. Export the certificate and its private key in PEM format, and download the Apple WWDR intermediate certificate.
- 2
Add the five (or six) environment variables
Provide
APPLE_PASS_CERT,APPLE_PASS_KEY,APPLE_WWDR_CERT,APPLE_PASS_TYPE_ID, andAPPLE_TEAM_ID, plusAPPLE_PASS_KEY_PASSPHRASEif your key is encrypted. Store the PEM values as secrets, never in source control. - 3
Redeploy
After the variables are in place and the app restarts, the confirmation page detects the credentials and shows the Add to Apple Wallet button on every valid ticket.
- 4
Test on a device
Buy or comp a test ticket, open the confirmation page on an iPhone, tap Add to Apple Wallet, and confirm the pass opens in Wallet with the correct event, date, seat, and QR code.
/api/v1/tickets/<id>/wallet returns a 501 Not configured response and the button simply doesn't render, attendees still have the Download QR option, so nothing breaks.What the Apple pass contains
The pass is generated as an Apple eventTicket. Its QR barcode encodes the check-in URL for that ticket, so scanning it at the door redeems the ticket. When the event has a start time, the pass sets Apple's relevant date so it can surface on the lock screen ahead of the show; when the event has coordinates, the pass includes the venue location. The front of the pass shows the ticket type, event name, date/time, venue, attendee, seat, and address; the back repeats those details and includes the ticket ID.
Screenshot: the deployment's environment variable settings with the five APPLE_PASS_* / APPLE_TEAM_ID values configured (secret values masked).
Demo GIF / screenshot to be added
Enabling Google Wallet Passes
Google Wallet passes are created through the Google Wallet API and signed with a Google Cloud service account key. Once the issuer and service account are configured, the Add to Google Wallet button appears on the confirmation page for every valid ticket.
What you need from Google
- A Google Wallet Issuer account (from the Google Pay & Wallet Console), this gives you an Issuer ID.
- A Google Cloud service account with access to the Wallet API, and a JSON key for it, you'll use the service account email and its private key.
Environment variables
The Google button appears only when all three of these are present:
GOOGLE_WALLET_ISSUER_ID, your Wallet issuer ID.GOOGLE_WALLET_SERVICE_ACCOUNT_EMAIL, the service account email from the JSON key.GOOGLE_WALLET_PRIVATE_KEY, the service account private key. Escaped newlines (\n) in the value are converted back to real line breaks automatically, so you can paste the single-line form from the JSON key file.
How to turn it on
- 1
Set up an issuer and service account
Create a Google Wallet issuer account to get your Issuer ID, then create a Google Cloud service account with Wallet API access and download its JSON key.
- 2
Add the three environment variables
Provide
GOOGLE_WALLET_ISSUER_ID,GOOGLE_WALLET_SERVICE_ACCOUNT_EMAIL, andGOOGLE_WALLET_PRIVATE_KEY. Keep the private key as a secret. - 3
Redeploy
After restart, the confirmation page detects the config and renders the Add to Google Wallet button on valid tickets.
- 4
Test on a device
Open the confirmation page, tap Add to Google Wallet (it opens in a new tab), and confirm the Google Save to Wallet flow adds the ticket with the correct details and QR code.
/api/v1/tickets/<id>/google-wallet returns a 501 Not configured response when the service account isn't set up, and the button doesn't render. It responds with a redirect to the Google save link only once the credentials are present.What the Google pass contains
Modality builds a Google event ticket class and object for the ticket and signs a Save to Wallet token, which the endpoint redirects to. The pass carries the event name, venue and address, date/time (the specific showing for multi-showtime events), ticket holder name, ticket type, seat info for reserved seating, and venue location when coordinates exist. Its QR barcode links back to the ticket so it scans at the door just like the Apple pass. The event cover image is used as the pass logo and hero image.
UNDER_REVIEW status. Passes work for testing while under review; publish the class in the Google Pay & Wallet Console when you're ready for general availability.Troubleshooting
- A wallet button is missing. The button renders only when that platform's credentials are fully configured. Confirm every required variable is set (all five/six for Apple, all three for Google) and that the app was restarted after adding them.
- The button is there but adding fails. Hitting the endpoint returns a
501when config is incomplete and a404when the ticket ID doesn't resolve, check that the certificate/key values are valid PEM and that the ticket still exists. - The pass logo or cover image is blank. Passes embed your workspace logo and event cover image; make sure those assets are set and publicly reachable so the pass generator can fetch them.
- The wrong date shows on a recurring event. Passes use the specific showing the ticket was purchased for. If a date looks off, verify the ticket is linked to the correct occurrence.